User Management
Learn how to manage users in the TanStarter template
This guide covers the user management system in the TanStarter template, including user roles, permissions, and administrative actions.
Core Features
The TanStarter template includes a user management system with the following features:
- User search and filtering
- Pagination with customizable page size
- User role and account status management
- User ban/unban functionality
User Management Interface
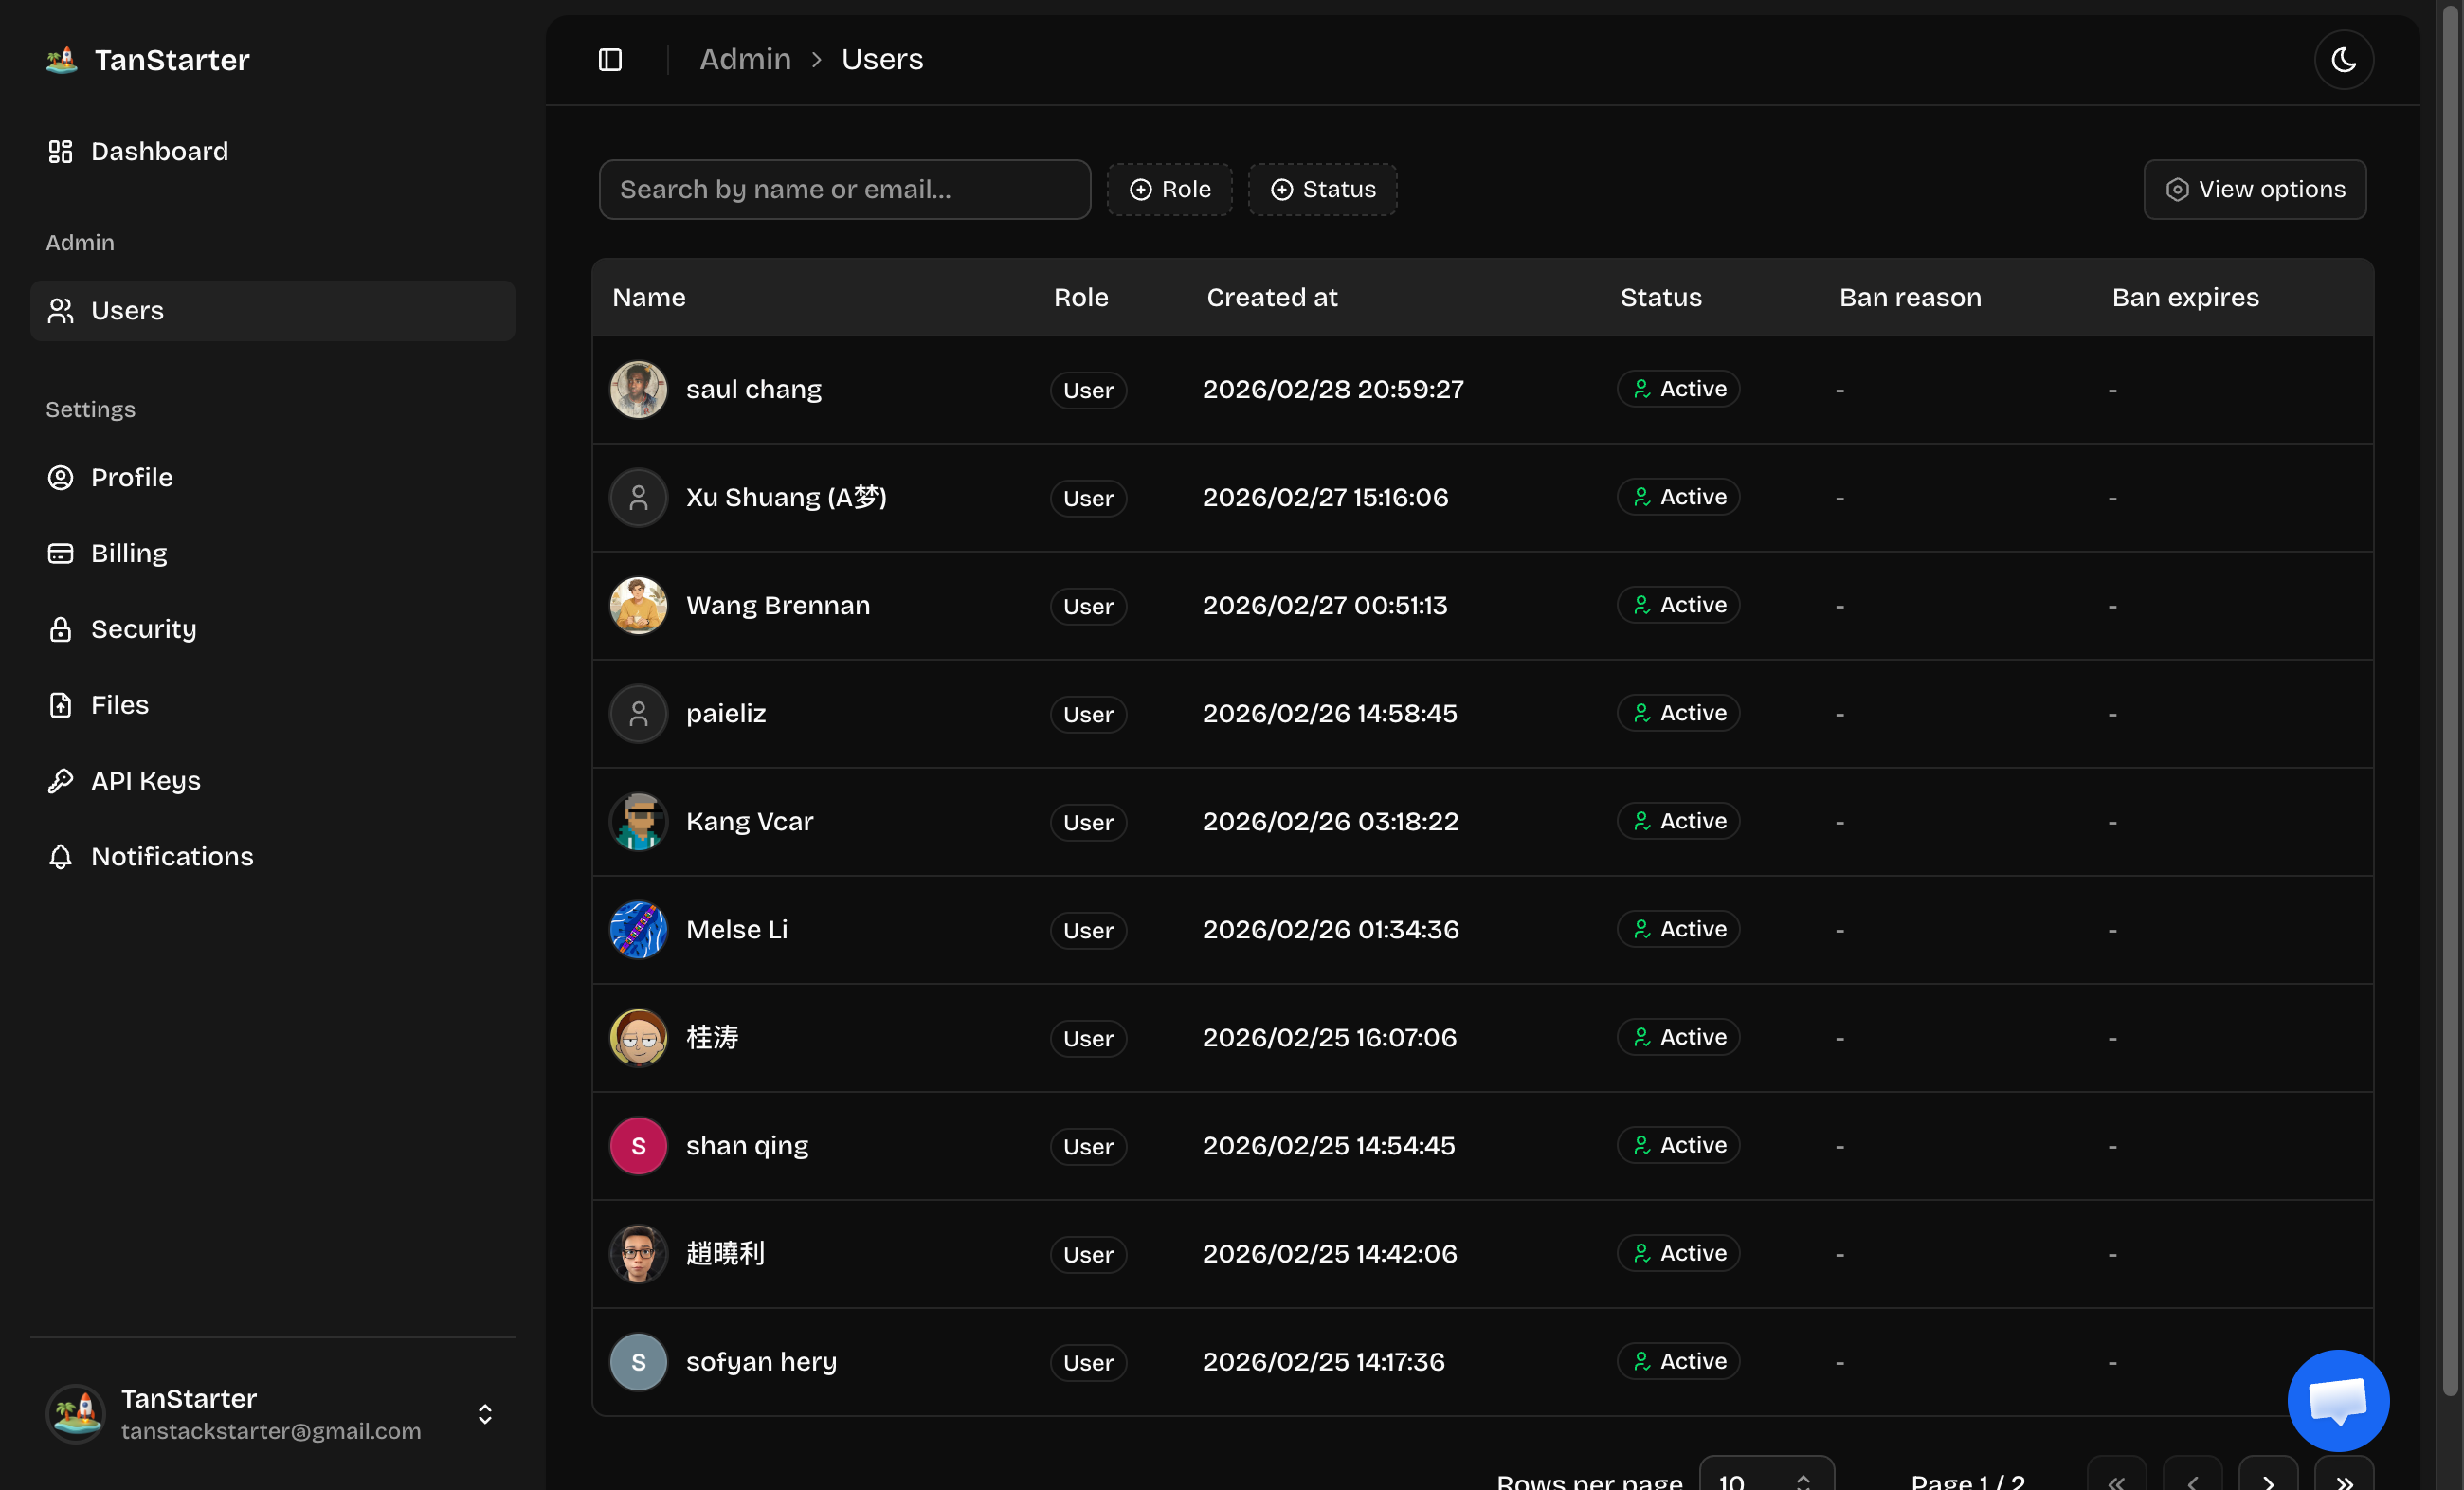
The user management interface is accessible through the dashboard (for admins only by default), and shows all users in the system.
The user table includes the following features:
- Column Visibility: Toggle which columns are displayed using the columns dropdown
- Search and Filtering: Use the search bar to find users by name or email
- Pagination: Navigate through user records with customizable page sizes (10, 20, 30, 40, 50)
User Roles and Permissions
TanStarter template supports two user roles by default: admin and user.
You can create a new role by following the instructions in the Roles | BetterAuth documentation.
You can also add permissions to the roles to control what actions users can perform by following the instructions in the Permissions | BetterAuth documentation.
Setting Up an Admin User
To set up an admin user:
-
Access your database using Drizzle Studio
-
Navigate to the
usertable -
Find the user you want to make an admin
-
Update the
rolefield toadmin -
Save the changes, and the user will now have administrative privileges
User Ban Management
Banning a User
To ban a user:
- Click on the user's name in the user table to open the details
- In the ban section:
- Enter a reason for the ban
- Optionally set an expiration date
- Click the
Ban Userbutton
The user will be immediately banned and unable to log in.
Unbanning a User
To unban a user:
- Click on the user's name in the user table
- In the user details, click the
Unban Userbutton
The user's ban will be lifted immediately.
Next Steps
Now that you understand user management in TanStarter, explore these related topics: